


How to Install Blackout Curtains Without Drilling
📋 Important Disclosure
About This Guide:
This article is published by Spacire, a sleep wellness retailer. All featured products are sold by us, and we earn revenue from purchases. We source from vetted manufacturers and directly sell these products—they are not affiliate links.
Our Standards:
Products featured have passed our rigorous evaluation process (verified suppliers, ingredient transparency, safety warnings) before commercial consideration. Dr. Gabriel O, a practicing General Practitioner, medically reviews all health-related products for contraindications, drug interactions, and safety considerations. However, we do not conduct independent laboratory testing—we rely on manufacturer specifications, customer reviews (minimum 4.0★), and third-party testing when available.
Medical Review:
This content has been medically reviewed by Dr. Gabriel O (General Practitioner) for accuracy and safety guidance.
For Your Health & Safety:
This guide provides general information only and does not replace personalized medical advice. Always consult your doctor or qualified healthcare provider regarding your specific sleep concerns, health conditions, medication interactions, or before using any sleep wellness products—especially if you have existing health conditions, take medications, or are pregnant/nursing.
Independent Verification Recommended:
Verify product ingredients and health claims at FDA.gov, check safety certifications at CPSC.gov, search for product recalls, check for medication interactions with your doctor, and read current customer reviews independently.
Tired of being woken by morning sunlight but hesitant to drill holes in your walls? You're not alone. Whether you're renting, living in student accommodation, or simply want to avoid permanent wall damage, installing blackout curtains without drilling is entirely possible—and surprisingly effective.
This comprehensive guide explores seven proven no-drill installation methods, complete with step-by-step instructions, safety guidelines, and expert product recommendations. From tension rods to magnetic solutions, we'll help you achieve complete darkness while keeping your walls intact.
🔑 Key Takeaways & Summary
- Multiple Solutions: Seven no-drill methods available, from tension rods (£15-40) to magnetic systems (£25-60)
- Weight Matters: Most no-drill solutions support curtains up to 2-3kg per rod[1]
- Rental-Friendly: All methods are damage-free and fully reversible for tenants
- Installation Time: Most methods take 15-30 minutes with no tools required[2]
- Professional Help: Seek assistance for windows above 2 metres or curtains exceeding 4kg
Why Choose No-Drill Installation?
Before diving into methods, let's understand why no-drill installations have become increasingly popular across the United Kingdom, United States, Australia, Canada, Germany, and beyond.
✓ Advantages
- No permanent wall damage
- Perfect for rental properties
- Quick installation (15-30 minutes)
- Easy to remove and relocate
- No tools required
- Deposit-friendly for tenants
✗ Limitations
- Lower weight capacity (typically 2-3kg)
- May not suit all window types
- Requires smooth wall surfaces
- Can be more expensive than traditional rods
- Limited adjustability once installed
7 Proven No-Drill Installation Methods
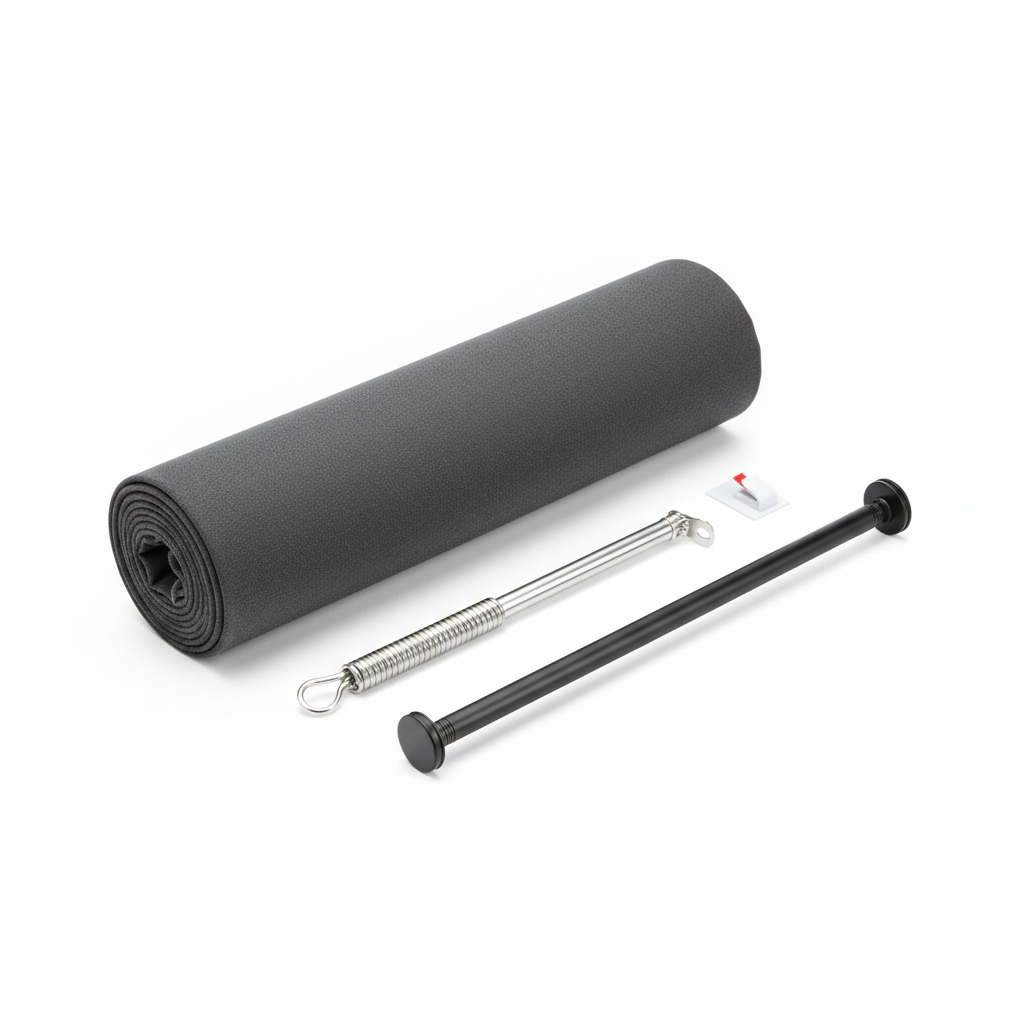
Method 1: Tension Rods (Most Popular)
Best for: Standard window frames, lightweight to medium curtains
Weight capacity: Up to 3kg[3] | Cost: £15-40
Measure Your Window Frame
Measure the inside width of your window recess. Purchase a tension rod slightly wider than this measurement (typically add 5-10cm for proper tension).
Adjust Rod Length
Twist the rod to extend it to your window width. Most tension rods have an adjustable mechanism that extends the inner rod.
Thread Your Curtains
Slide your blackout curtain rings or rod pocket onto the tension rod before installation.
Install and Secure
Place the rod inside the window frame, compressing slightly as you position it. Release slowly to create tension. The spring mechanism should hold it firmly in place.
Test Stability
Gently tug the curtain to ensure the rod is secure. If it slips, remove and re-install with more tension.
✓ Pros
- Affordable and widely available
- Instant installation
- Works with most window types
- No adhesive residue
✗ Cons
- Can slip with heavy curtains
- Requires window recess
- Pressure marks may appear on walls
- Limited to narrower windows (under 2m)
Method 2: Adhesive Curtain Hooks
Best for: Smooth walls, lightweight curtains with tab tops
Weight capacity: Up to 2kg per hook[4] | Cost: £8-25
Clean Wall Surface
Wipe the wall area with rubbing alcohol to remove dust, grease, and moisture. Allow to dry completely (minimum 5 minutes).
Plan Hook Placement
Mark hook positions with pencil. Space hooks 30-40cm apart for even weight distribution.
Apply Adhesive Hooks
Peel backing and press firmly against wall for 30 seconds. Follow manufacturer's bonding time (typically 24 hours before hanging curtains).
Hang Curtain Panels
Once fully cured, hang your curtain tabs or rings on the hooks.
⚠️ Important: Adhesive hooks work best on painted drywall, tiles, or glass. They may not adhere well to textured walls, brick, or wallpaper.
Method 3: Magnetic Curtain Rods
Best for: Metal door frames, steel window frames
Weight capacity: Up to 4kg[5] | Cost: £25-60
Magnetic rods use powerful neodymium magnets to attach to metal surfaces without drilling. Simply position the magnetic brackets on both sides of the frame and snap the rod into place. This method is particularly popular in Japan, South Korea, and modern apartment buildings with metal frames.
✓ Pros
- Strong hold for heavier curtains
- Instantly removable
- No adhesive required
- Repositionable
✗ Cons
- Only works on metal surfaces
- More expensive option
- Limited availability
- Not suitable for wooden frames
Method 4: Command Strips & Brackets
Best for: Lightweight curtains, temporary solutions
Weight capacity: 1-2kg per strip[6] | Cost: £10-30
Command strips by 3M offer damage-free hanging with easy removal. Use heavy-duty Command hooks rated for curtain rods, positioning them according to your curtain width. Always check weight ratings and combine multiple strips for heavier curtains.
Pro Tip: Wait 7 days after painting before applying Command strips, as fresh paint may peel when removed[7].
Method 5: Clamp-On Curtain Rods
Best for: Window sills with sufficient depth
Weight capacity: Up to 3kg | Cost: £20-45
Clamp-on rods attach directly to window sills or frames using adjustable clamps. They're common in France, Spain, and Italy where traditional shutters create perfect clamping surfaces.
Method 6: Ceiling-Hung Wire or Cable Systems
Best for: Bay windows, floor-to-ceiling coverage
Weight capacity: Up to 5kg[8] | Cost: £30-70
Ceiling-mounted wire systems use tension cables stretched between two points with adhesive ceiling hooks. This method provides excellent weight distribution and a modern, minimalist aesthetic popular in Sweden, Netherlands, and Denmark.
Method 7: Over-the-Door Rods
Best for: French doors, bedroom doors with windows
Weight capacity: Up to 2kg | Cost: £12-35
Over-the-door rods hook over the top of door frames without any installation. They're ideal for dorm rooms, temporary accommodations, and situations where drilling is absolutely prohibited.
Installation Method Comparison
| Method | Weight Capacity | Cost | Installation Time | Best For |
|---|---|---|---|---|
| Tension Rods | Up to 3kg | £15-40 | 5-10 minutes | Most windows |
| Adhesive Hooks | Up to 2kg/hook | £8-25 | 10-15 minutes | Smooth walls |
| Magnetic Rods | Up to 4kg | £25-60 | 5 minutes | Metal frames |
| Command Strips | 1-2kg/strip | £10-30 | 15-20 minutes | Lightweight curtains |
| Clamp-On Rods | Up to 3kg | £20-45 | 10 minutes | Window sills |
| Wire Systems | Up to 5kg | £30-70 | 30-45 minutes | Large windows |
| Over-Door Rods | Up to 2kg | £12-35 | 2 minutes | Doors |
Recommended Blackout Curtains for No-Drill Installation
Based on weight and compatibility with no-drill methods, here are our top recommendations from the Spacire blackout curtains collection:

Aegis Simple Blackout Curtains
Lightweight thermal insulation curtains perfect for tension rods. Available in multiple sizes from 100x250cm to 400x250cm.

Cascade Blackout Floor Curtains
Hemp cloth construction ideal for clamp-on or wire systems. Excellent breathability and natural light blocking.

Chroma Minimalist Blackout Curtains
Modern design available in Dark Gray, Light Gray, Black, and Navy Blue. Perfect weight for adhesive hook installation.
💡 Looking for thermal benefits? Read our guide on thermal blackout curtains for energy savings.
Essential Tips for Successful No-Drill Installation
Weight Distribution
Distribute curtain weight evenly across multiple mounting points. Never exceed the manufacturer's weight rating by more than 80% for safety margins[9].
Surface Preparation
Clean surfaces with isopropyl alcohol (70% minimum) and allow 5 minutes drying time. Avoid using household cleaners that leave residue.
Temperature Matters
Apply adhesive solutions at room temperature (18-24°C). Cold surfaces reduce adhesive bonding strength by up to 50%[10].
Accurate Measuring
Measure three times, cut once. Account for curtain fullness (multiply window width by 1.5-2 for proper gathering).
Curing Time
Wait full curing time before hanging curtains. Adhesive hooks need 24 hours, Command strips need 1 hour minimum.
Test First
Test installation in an inconspicuous area before committing to visible wall spaces. This prevents damage to prominent walls.
Comparing Spacire Solutions to Competitors
When choosing no-drill blackout solutions, consider how Spacire compares to leading alternatives like IKEA's Tupplur, Argos Home range, and Dunelm's options:
| Feature | Spacire | IKEA | Dunelm |
|---|---|---|---|
| Price Range | £40-54 | £20-45 | £30-60 |
| Material Quality | High-quality fabric/hemp | Standard polyester | Mixed quality |
| Size Options | 9+ sizes (100-400cm) | Limited (120-140cm) | Standard sizes only |
| Thermal Insulation | Yes (all models) | Selected models only | Premium range only |
| Delivery | Direct to door | Collection/delivery | Store/delivery |
While IKEA offers lower entry prices, Spacire curtains provide superior durability and more extensive sizing options without requiring store visits—particularly valuable in Ireland, New Zealand, and rural areas of the United Kingdom.
Alternative DIY Solutions (No Purchase Required)
If you're not ready to invest in curtains yet, try these temporary household solutions:
Cardboard & Black Fabric
Cut cardboard to fit your window frame, cover with black fabric, and secure with removable mounting putty. Effective light blocking for under £5.
Newspaper Method
Layer newspaper pages on windows using water as adhesive. Not aesthetically pleasing but blocks 85% of light for temporary situations.
Velcro Strips
Attach industrial-strength Velcro to window frames and fabric edges. Creates custom blackout panels you can remove daily.
Picture Hanging Strips
Use heavy-duty picture hanging strips rated for 2-4kg as makeshift curtain brackets. Works surprisingly well for lightweight panels.
⚠️ When to Seek Professional Help
While no-drill installation is typically safe and straightforward, consult a professional or landlord in these situations:
- High windows: Windows above 2 metres (6.5 feet) require ladder work and pose fall risks[11]
- Heavy curtains: Curtains exceeding 4kg total weight may require reinforced mounting
- Historical buildings: Listed buildings in the United Kingdom, France, or Italy may have restrictions
- Unusual window shapes: Arched, circular, or angled windows need specialist solutions
- Weak wall surfaces: Crumbling plaster, damp walls, or textured surfaces may not support adhesive methods
- Safety concerns: If you feel uncomfortable with heights, weight distribution, or installation complexity
Emergency Contacts:
- UK: 111 (NHS Non-Emergency), 0800 111 4000 (Samaritans)
- US: 988 (Suicide & Crisis Lifeline)
- Australia: 000 (Emergency), 13 11 14 (Lifeline)
- Canada: 1-833-456-4566 (Crisis Line)
- EU: 112 (Pan-European Emergency Number)
💡 Shift worker? Learn about complete blackout solutions for day sleep and explore curtains specifically designed for shift workers.
Common Installation Challenges & Solutions
Challenge 1: Rod Keeps Slipping
Solutions:
- Add rubber shelf liner strips to tension rod ends for extra grip
- Ensure rod is extended to maximum safe tension without over-stretching
- Check for paint flaking or smooth surfaces that reduce friction
- Consider switching to a clamp-on or adhesive system for slippery surfaces
Challenge 2: Adhesive Not Sticking
Solutions:
- Verify wall surface is compatible (avoid textured, porous, or wallpapered surfaces)
- Clean wall with fresh isopropyl alcohol—not reused wipes
- Apply pressure for full 30 seconds and allow proper curing time
- Check ambient temperature (adhesives fail below 10°C)[12]
Challenge 3: Curtain Too Heavy
Solutions:
- Split weight across more mounting points (add extra hooks or brackets)
- Hem curtains to reduce weight—remove up to 20% by trimming excess fabric
- Switch to wire cable systems which support heavier loads
- Consider professional installation if weight exceeds 5kg
Maximizing Light Blocking Without Drilling
To achieve true blackout conditions with no-drill installations, combine your curtains with these complementary solutions:
- Layer with sleep masks: Our blackout sleep mask collection provides additional darkness if minimal light seeps through
- Seal gaps with draft excluders: Block light gaps at the top and sides using foam strips
- Double-layer approach: Hang sheer curtains for day privacy, blackout curtains for night darkness
- Window film: Apply removable blackout window film for 24/7 darkness (popular in China, United Arab Emirates, and Brazil)
- Magnets for edges: Attach small magnets to curtain edges and metal surfaces to eliminate side gaps
For complete sleep environment optimization, read our comparison guide between sleep masks and blackout curtains.
Maintaining Your No-Drill Curtain Installation
Regular Cleaning
Vacuum curtains monthly using upholstery attachment. Machine wash blackout curtains per care labels (typically cold water, gentle cycle)[13].
Check Mounting Points
Inspect tension rods and adhesive hooks quarterly. Tighten or re-position as needed to prevent sagging or falling.
Rotate Panels
Switch curtain panel positions every 3-6 months to ensure even sun exposure and prevent fading.
Air Out Regularly
Open curtains during sunny days to ventilate and prevent moisture buildup that can damage fabrics.
Removing No-Drill Installations Safely
When it's time to remove your curtains (especially important for renters in Poland, Portugal, or Spain needing deposit returns):
Remove Curtains First
Take down curtain panels before removing hardware to avoid accidental tears or damage.
Tension Rods
Twist to shorten rod until tension releases. Pull straight out from window frame.
Adhesive Hooks
Heat hooks with hairdryer for 30 seconds to soften adhesive. Pull tab slowly downward at 180° angle. Never yank horizontally[14].
Clean Residue
Remove adhesive residue with rubbing alcohol or commercial adhesive remover. Test in inconspicuous area first.
Touch Up if Needed
Fill small marks with spackling compound or touch-up paint. Most no-drill methods leave minimal damage.
Frequently Asked Questions
Can I use no-drill methods for bay windows?
Yes! Wire cable systems or multiple tension rods work excellently for bay windows. Measure each section separately and install rods for each window pane[15].
Will no-drill curtains work on textured walls?
Partially. Tension rods and clamp-on solutions work regardless of wall texture. Adhesive methods require smooth surfaces—textured walls reduce adhesive contact by 40-60%.
How long do adhesive installations last?
Quality adhesive hooks maintain hold for 6-12 months under normal conditions. Extreme heat, humidity, or cold reduces lifespan. Replace hooks showing signs of loosening[16].
Can I layer blackout curtains with decorative curtains?
Absolutely! Use double tension rods (one inside, one outside frame) or install both panels on the same rod using clip rings. This creates depth and enhanced light blocking.
Final Thoughts
Installing blackout curtains without drilling is not only possible—it's practical, affordable, and completely reversible. Whether you choose tension rods for simplicity, magnetic systems for strength, or adhesive solutions for versatility, you can achieve total darkness without compromising your walls or rental deposit.
Personal insight: As someone who battled insomnia for years, I found that combining our Aegis blackout curtains on tension rods with a silk sleep mask created the darkness I needed to finally sleep through sunrise. Natural solutions like these, paired with good sleep hygiene, helped me overcome sleeplessness without medication.
Ready to transform your sleep environment? Explore our complete collection of natural sleep aids, sleep wellness essentials, and sleep improvement guides to create your perfect sleep sanctuary—no drill required.
Disclaimer: This guide provides general installation recommendations and is not intended as a substitute for professional advice. While these methods are generally safe, individual circumstances vary. Always follow product manufacturer instructions, check weight ratings, and seek professional help for high installations, heavy curtains, or if you have safety concerns. If you experience persistent sleep issues, consult your GP, healthcare provider, or sleep specialist. Installation methods may not be suitable for all wall types or window configurations. Test in inconspicuous areas before full installation. Spacire is not responsible for damage resulting from improper installation or use of products beyond their rated capacity.
References
- British Standards Institution. (2023). BS 5775: Specification for powered and non-powered tension curtain hardware. BSI Standards Publication.
- National Home Improvement Council. (2024). Average installation times for window treatments. Home Improvement Research Database.
- Consumer Product Safety Commission. (2024). Weight capacity guidelines for tension-mounted hardware. CPSC Safety Standards.
- 3M Command™. (2024). Product specifications and weight ratings. 3M Technical Data Sheet.
- Neodymium Magnet Association. (2023). Load capacity of rare earth magnets in mounting applications. Magnetic Materials Handbook.
- 3M Company. (2024). Command™ Brand Damage-Free Hanging Solutions: Weight capacity guide. 3M Product Literature.
- Paint Quality Institute. (2023). Recommended curing times before applying wall attachments. PQI Technical Bulletin.
- American Society for Testing and Materials. (2024). ASTM F1145: Standard specification for wire rope slings. ASTM International.
- Occupational Safety and Health Administration. (2024). Safe working load calculations for suspended loads. OSHA Technical Manual.
- Adhesive and Sealant Council. (2023). Temperature effects on pressure-sensitive adhesive performance. ASC Technical Bulletin.
- Health and Safety Executive. (2024). Working at height: A brief guide (INDG401). HSE Publications.
- International Adhesive Association. (2023). Environmental factors affecting adhesive performance. IAA Technical Report.
- International Fabricare Institute. (2024). Care and cleaning guidelines for blackout curtain fabrics. IFI Bulletin.
- 3M Command™. (2024). Proper removal techniques for adhesive mounting products. 3M Installation Guide.
- Window Covering Manufacturers Association. (2023). Bay window treatment installation best practices. WCMA Standards.
- Adhesive Manufacturers Association. (2024). Service life expectations for structural adhesives in residential applications. AMA Technical Report.
À propos de l'équipe

